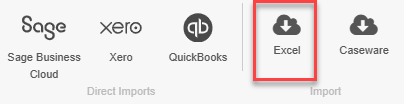
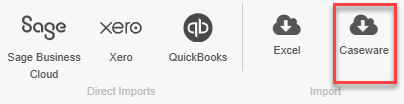
There are a number of ways to import your Trial Balance, either directly from your accounting system (Direct Imports), from Microsoft Excel, or from Caseware.
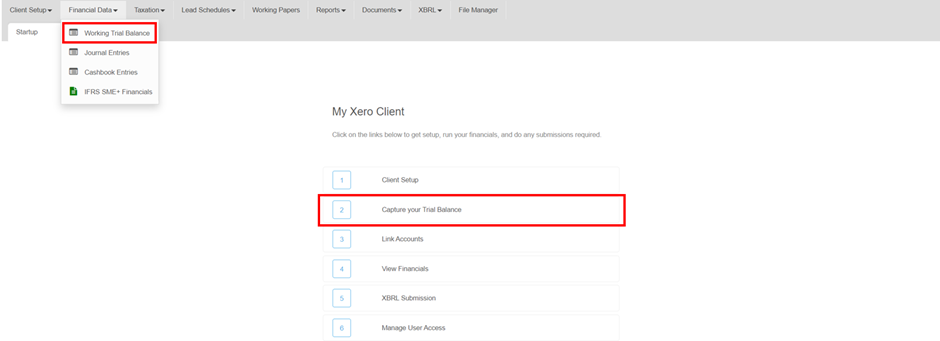
To import your trial balance, go to the Working Trial Balance screen, by choosing either Capture your Trial Balance from the Startup screen, or by selecting Working Trial Balance from the Financial Data menu.
1. Direct Imports
Import your Xero, Sage Business Cloud or Quickbooks Online Trial Balance.
Choose your Accounting Application on the Direct Imports section on the Toolbar.

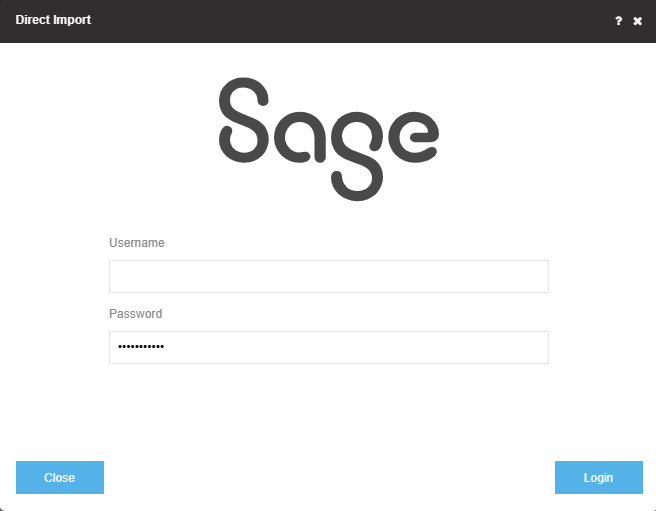
To create a connection to your accounting application, you will be requested to Login on the Direct Imports pop-up.
Once your trial balance has been imported, you have the option to drill down to the ledger transactions in your accounting application. Note: This feature is only available for QuickBooks Online and Sage Business Cloud Accounting.
Import from Xero
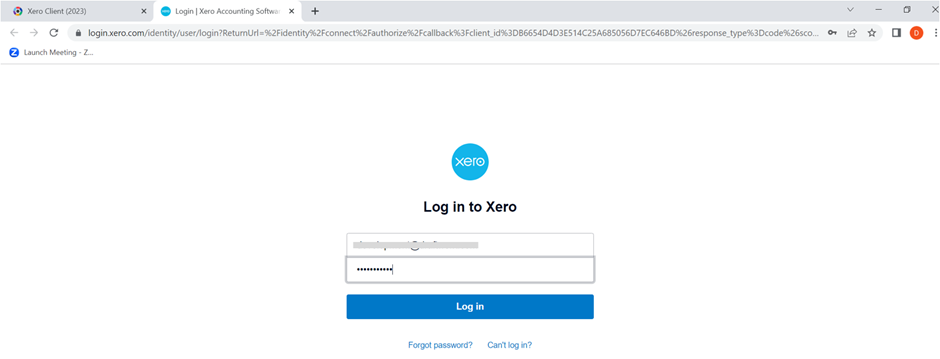
Enter your multi-factor authentication code when requested to do so.
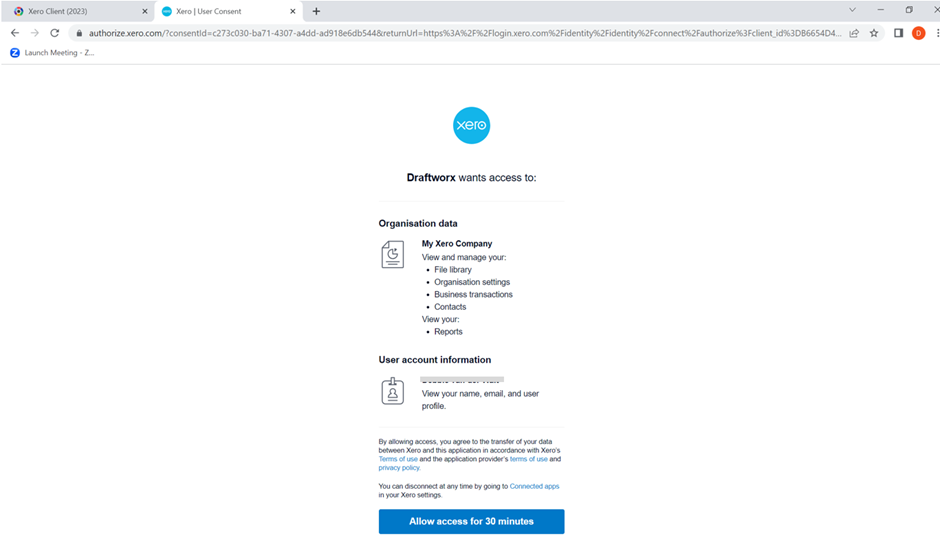
Select the Xero organisation data that you will be giving Draftworx Cloud access to and choose Allow access for 30 minutes.
Once you are connected to your accounting application, the Direct Imports options will be available for selection.
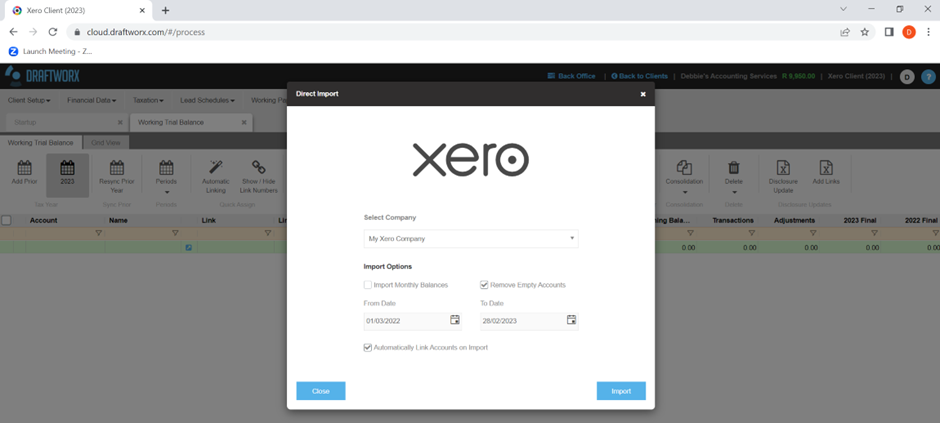
- Select your Company if it is not already selected.
- Choose Import Monthly Balances if you are importing a monthly TB, otherwise leave this deselected to import a yearly TB.
-
Remove Empty Accounts will remove any accounts with a 0 balance on import.
- The From and To Dates are automatically selected based on the financial year setup when the Client was created in Draftworx Cloud. Leave these dates as is.
-
Automatically Link Accounts on Import will link each account in your accounting application import to the correct link numbers in Draftworx Cloud.
- Select Import to import your TB.
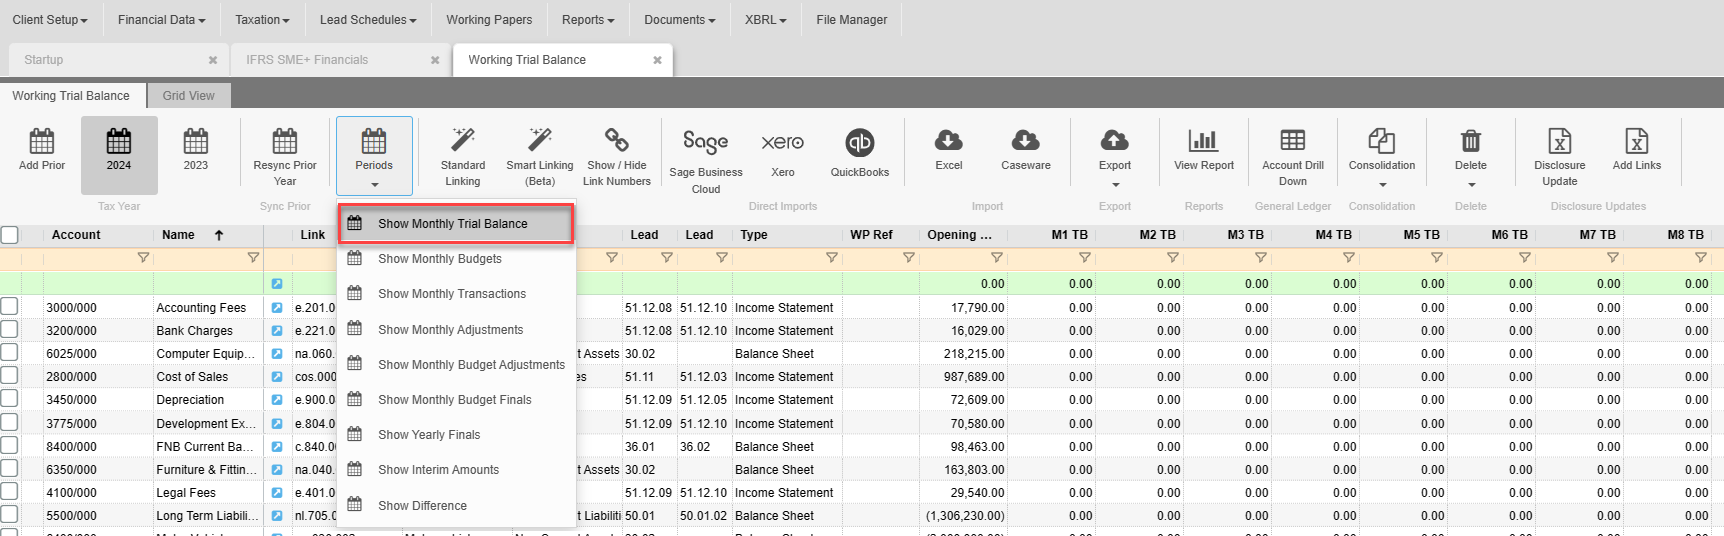
If Monthly Balances are imported, choose the Periods option on the Toolbar, and select Show Monthly Trial Balance to display the Monthly values.
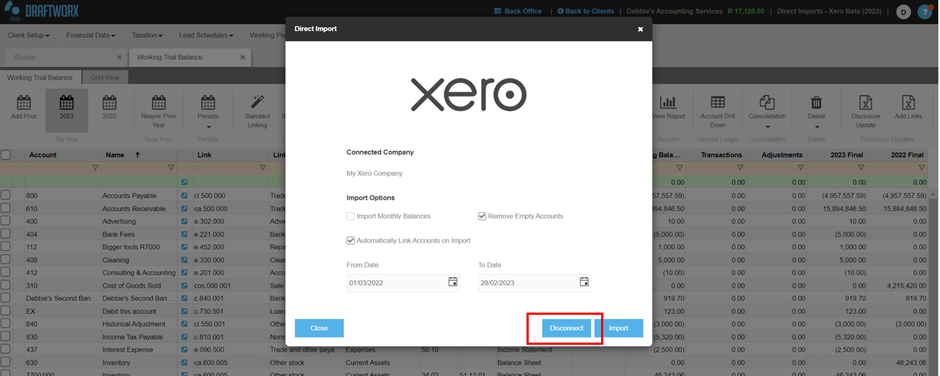
To import an updated TB from your accounting application, you will follow the same steps. Because a connection has already been established between Draftworx Cloud and your accounting application company, the Connected Company will be displayed. There is a Disconnect option should you wish to disconnect this company from your accounting application.
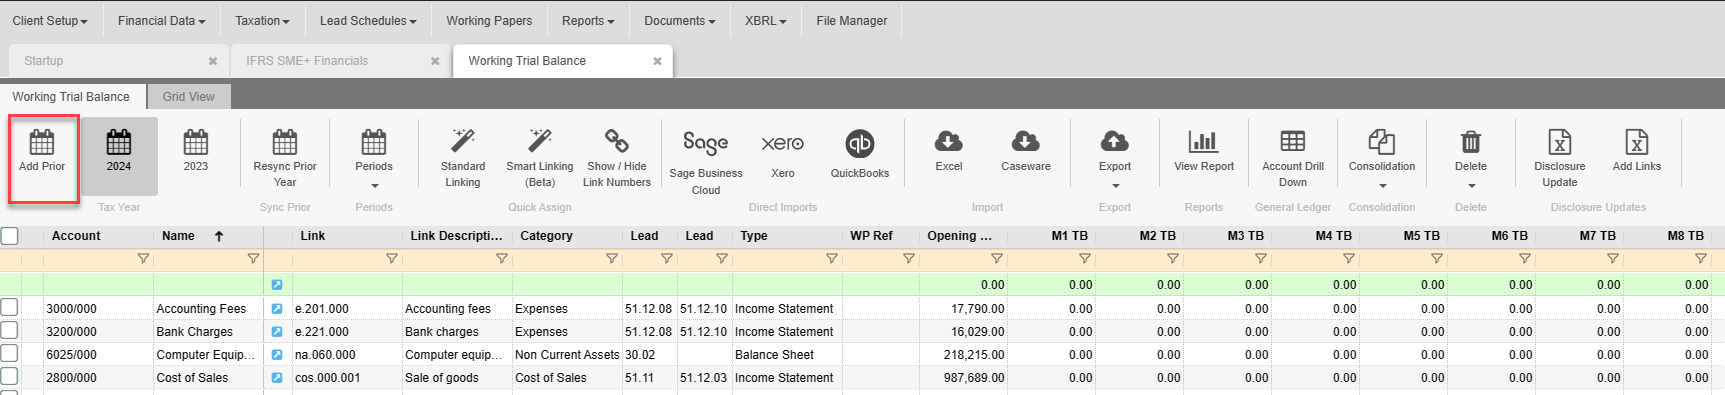
To import the previous financial year’s figures, on the Working Trial Balance screen, choose Add Prior and then follow the same steps.

Import from Sage Business Cloud
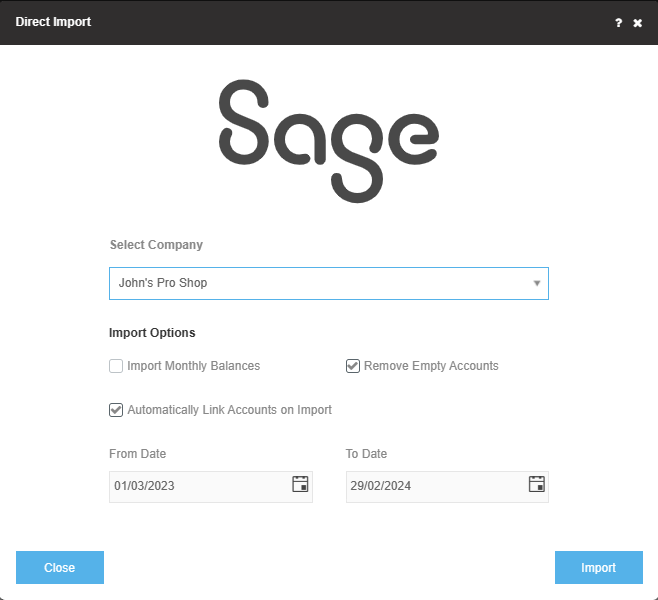
- Select your Company if it is not already selected.
- Choose Import Monthly Balances if you are importing a monthly TB, otherwise leave this deselected to import a yearly TB.
-
Remove Empty Accounts will remove any accounts with a 0 balance on import.
- The From and To Dates are automatically selected based on the financial year setup when the Client was created in Draftworx Cloud. Leave these dates as is.
-
Automatically Link Accounts on Import will link each account in your accounting application import to the correct link numbers in Draftworx Cloud.
- Select Import to import your TB.
If Monthly Balances are imported, choose the Periods option on the Toolbar, and select Show Monthly Trial Balance to display the Monthly values.

To import an updated TB from your accounting application, you will follow the same steps. Because a connection has already been established between Draftworx Cloud and your accounting application company, the Connected Company will be displayed.
To import the previous financial year’s figures, on the Working Trial Balance screen, choose Add Prior and then follow the same steps.

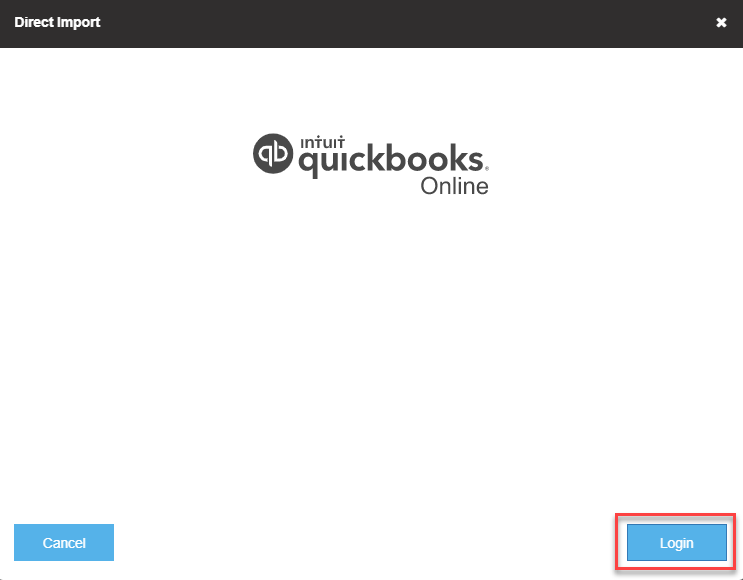
Import from Quickbooks Online
Click Login.
A new Window will open; enter your login credentials and choose Sign In.

Depending on your account setup, you will be sent a verification code to log in.
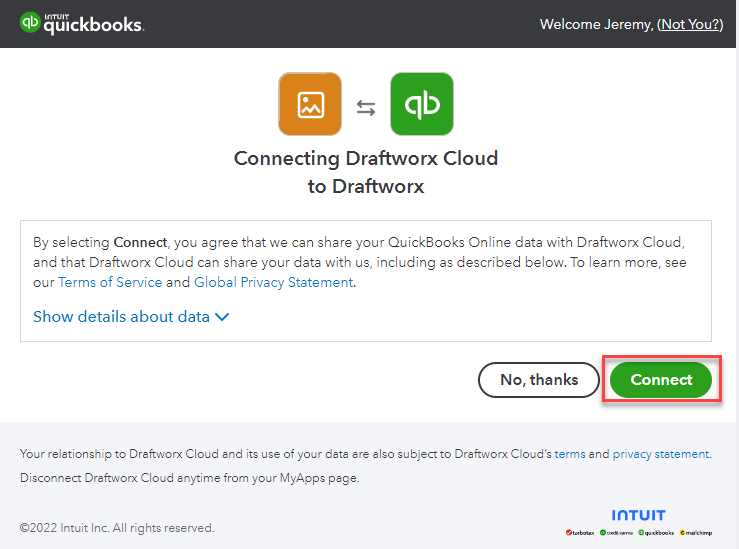
Once logged in, the following screen will pop up. Click on Connect.
Select the relevant entity you would like to import from, then click Import.
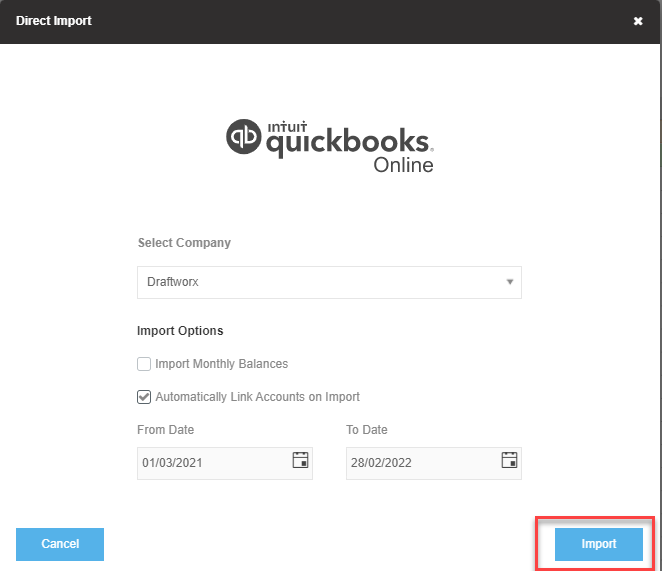
- Select your Company if it is not already selected.
- Choose Import Monthly Balances if you are importing a monthly TB, otherwise leave this deselected to import a yearly TB.
-
Remove Empty Accounts will remove any accounts with a 0 balance on import.
- The From and To Dates are automatically selected based on the financial year setup when the Client was created in Draftworx Cloud. Leave these dates as is.
-
Automatically Link Accounts on Import will link each account in your accounting application import to the correct link numbers in Draftworx Cloud.
- Select Import to import your TB.
If Monthly Balances are imported, choose the Periods option on the Toolbar, and select Show Monthly Trial Balance to display the Monthly values.

To import an updated TB from your accounting application, you will follow the same steps. Because a connection has already been established between Draftworx Cloud and your accounting application company, the Connected Company will be displayed.
To import the previous financial year’s figures, on the Working Trial Balance screen, choose Add Prior and then follow the same steps.
2. Import from Excel
Click on Excel.
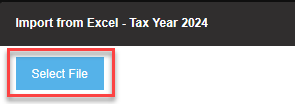
On the pop up, click on Select File. This will open a File Explorer box which you can use to find your saved Excel Trial Balance:
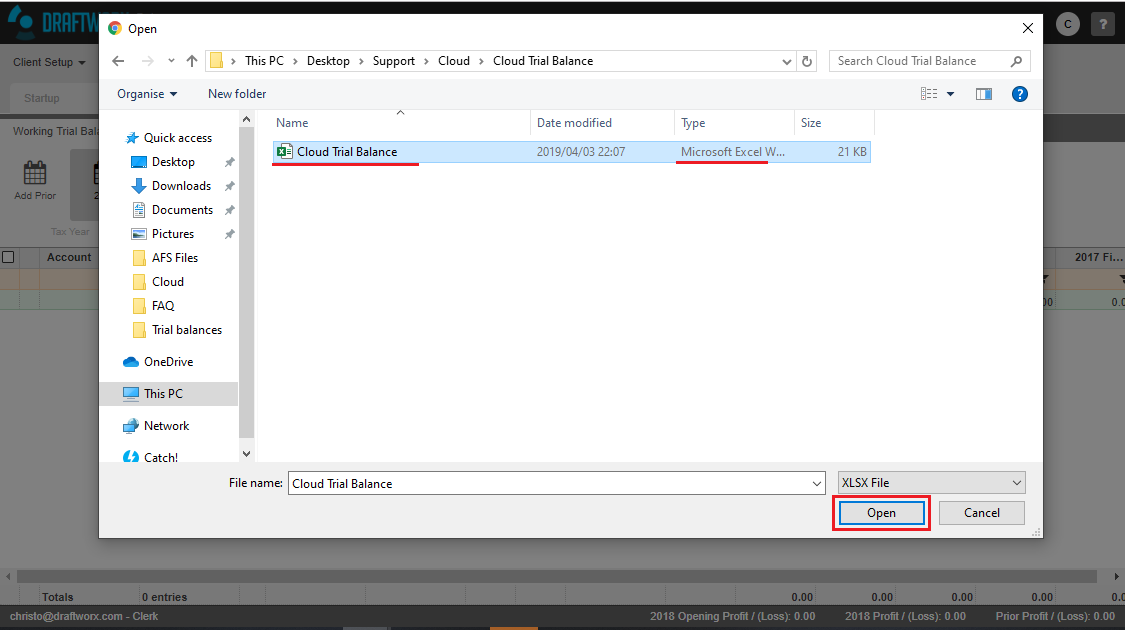
Once you have found your file, select it and then click on the Open button on the bottom right. Please note that your file must be an Excel (.XLSX) file.
You will then see the screen with headings and your Excel trial balance in a box below the headings. Here you need to tell Draftworx where the information is on the Excel sheet. To do this, click on the heading and then select the cell where the data for that heading starts.
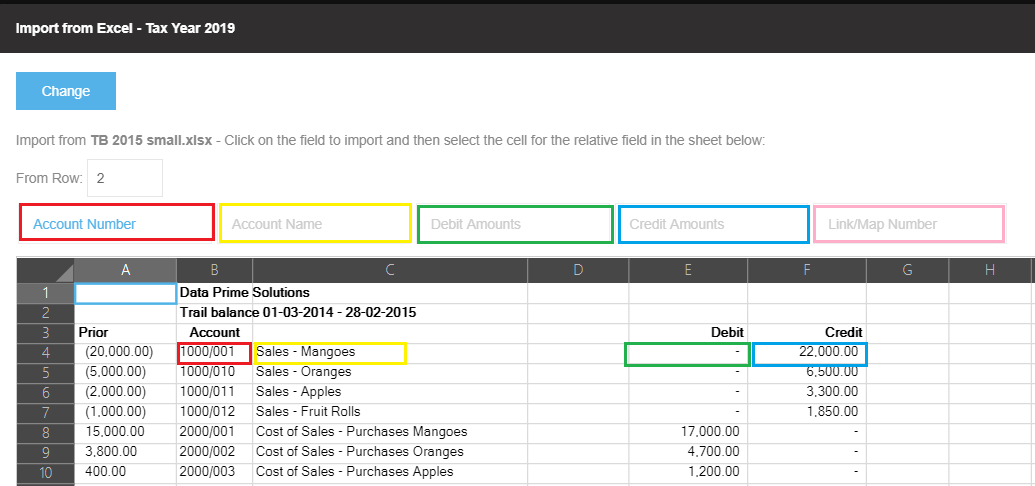
As an example, in the image above we have selected the Cell B4 to indicate that our Account Numbers are all in Column B and start in row 4. We must select a corresponding cell for all the headings that we would like to import. If the Debit and Credit amounts are in the same column you can select the same column for both the debit and credit headings. The Link/Map Number heading is optional; we only select that if we have link numbers in the trial balance.
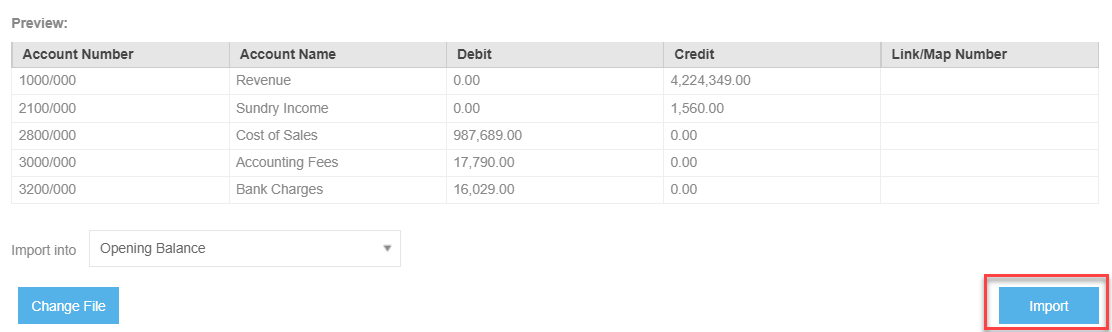
Once we have selected the correct cells for the data, it will show the selected columns next to the heading like this: (This is per the specific trial balance we used, your columns could be different):
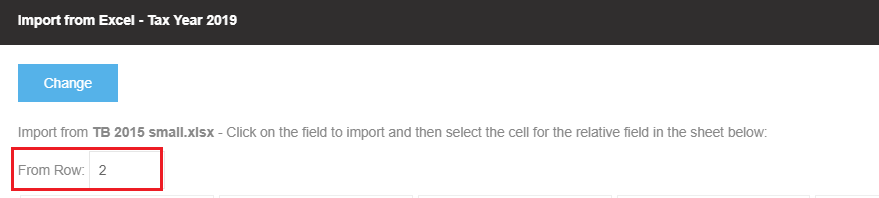
Ensure that the From Row option on the screen corresponds with the first row of data you want to import:
Once you are happy with the selections, click on Import:
3. Import from Caseware
Select the Caseware import button on the Working trial balance.
Please Note
If you have already installed the application you do not need to download and install it again. Just run the application from your start bar.
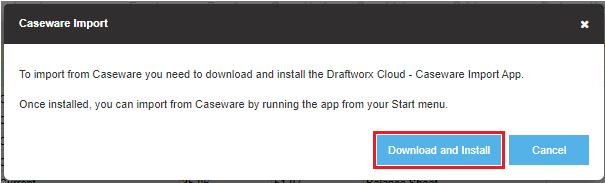
Once you do that your system will show you a screen where you can choose to Download and Install the Draftworx Cloud - Caseware Import application.
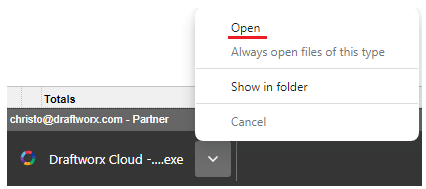
Once the Download is finished you can choose to Open the Download
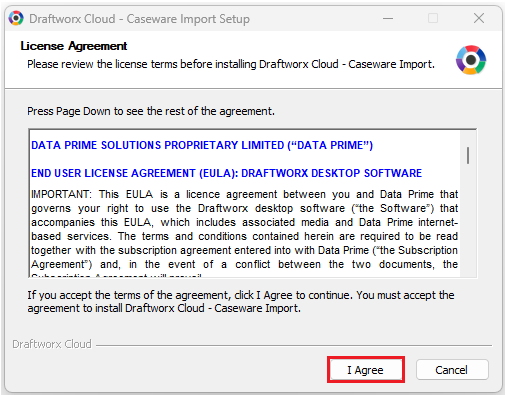
This will take you through an installation process, to start accept the End User License Agreement by selecting the I Agree button.
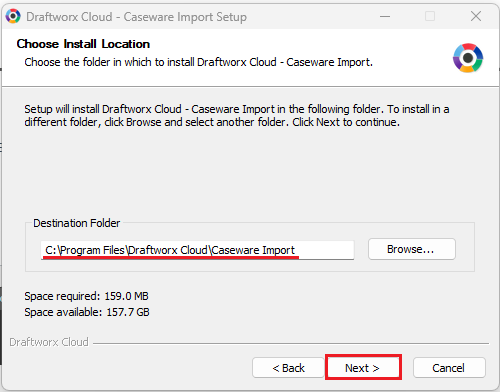
You can then choose your save location and say Next.
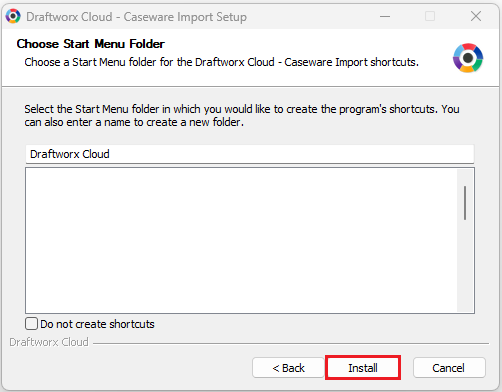
Then you can choose your state menu save Folder, if you want to change it, and then select the Install button.
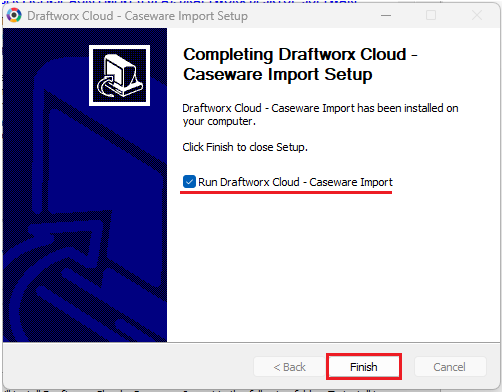
Once the installation is complete you will be able to select the Finish option. If the "Run Draftworx Cloud - Caseware Import" checkmark is ticked then it will start the import program as soon as you select Finish.
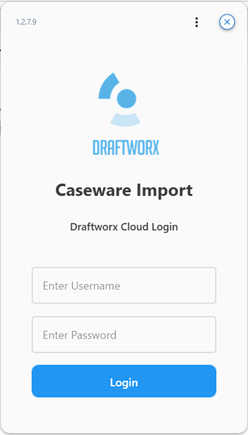
Once you have installed you can run the application from the start bar in your windows system.

Once it runs you should see a screen where you can enter your Draftworx Cloud Username and Password and then select Login to connect the application to your Draftworx account.
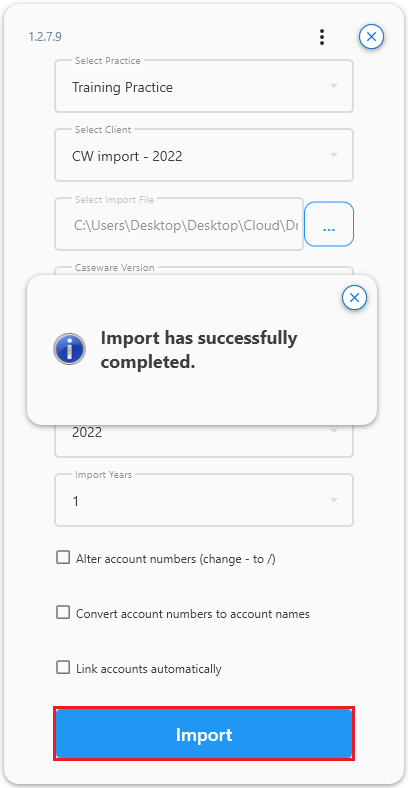
Once you have logged in successfully you will see the following screen, here you will make the relevant selections and then import the Caseware file.
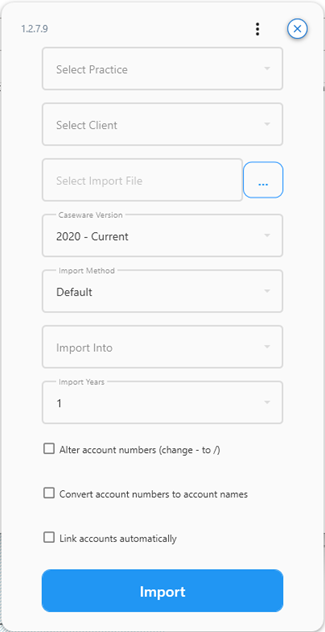
Select Practice: Here you will select the practice that you want to import the Caseware file into.
Select Client: Here you will select the client file that you want to import the Caseware data into, this would be the empty file that you created at the start of this guide.
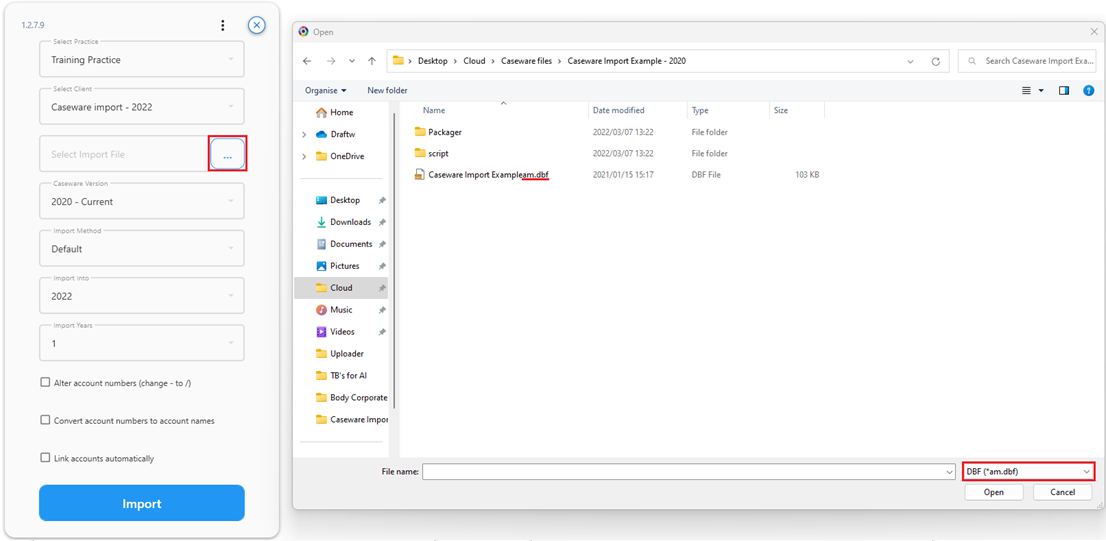
Select Import File: Here you will select the three dots and then find the Caseware file where you saved it on your system and then just open it. Please make sure that the file extension is am.dbf
Caseware Version: Please select the version of Caseware that this file was created in.
Import Method: Do you want to import the TB or the whole GL from Caseware.
Import Into: This is the first year that you want to import the Caseware amounts into.
Import Years: This is the amount of years that you want to import into Draftworx. So if my “Import Into” year is 2022 and I select 3 years for my import years then it will import 2022, 2021 and 2020 from the Caseware file.
Alter account numbers: You can modify the account numbers that use “_” in Caseware to have a “/” in Draftworx
Convert account numbers to account names: If you do not want to use account numbers you can convert the account names to be your account numbers.
Link Accounts automatically: This will run our auto link function after doing the Caseware conversion. So any Caseware maps that could not be converted with then be auto linked.
Once you have made your selections you can select import and the system will upload and convert your Caseware TB into Draftworx. Once the import is complete you should see the message, "Import has successfully completed."
If you now close and reopen your Working Trial Balance in Draftworx Cloud you should see the trial balance from Caseware.