Once you have completed the editing of your template, you will be able to finalise and print:
Print Preview
There are 4 Preview options (under the Format tab) We will be focusing on Option 4: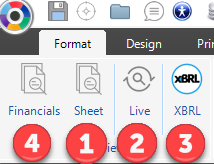
1. Sheet: If you want to preview and edit just one sheet
2. Live: If you want to look at a live view of a sheet you are busy working on/editing:
Any changes you make will be show in Real Time (very useful!)
3. XBRL: This is to preview and print your XBRL format financials (See the article on XBRL)
4. Financials: The final step when finalising and printing.
Once you have run the Preview, the screen will be split into 3 sections:
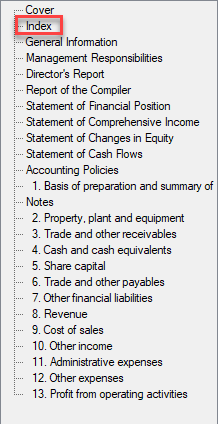
The Navigation bar on the left where you can quickly skip to each sheet without having to scroll:
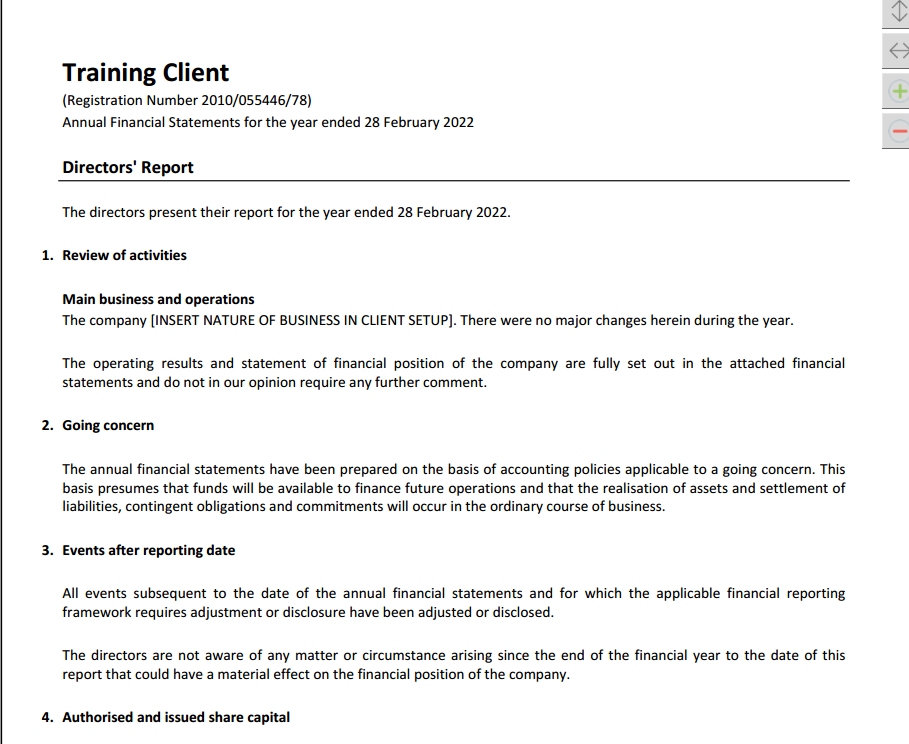
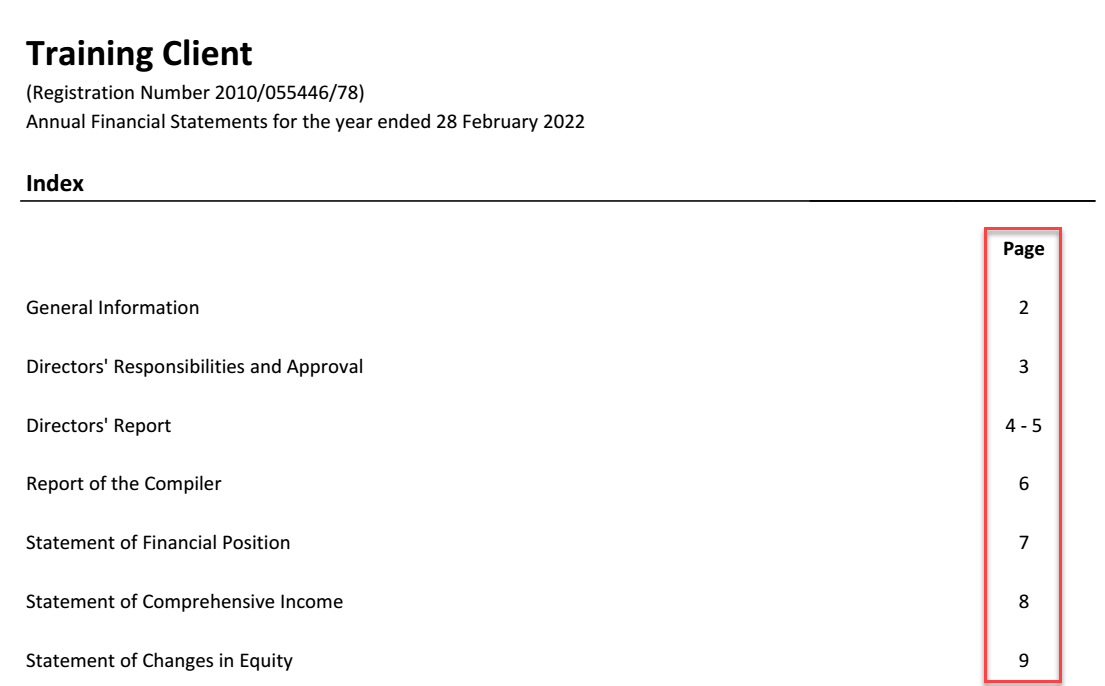
The Financials themselves in the middle.. You'll notice that if you click on Index, all the page numbers have automatically been inserted:
The Editing toolbar on the right:
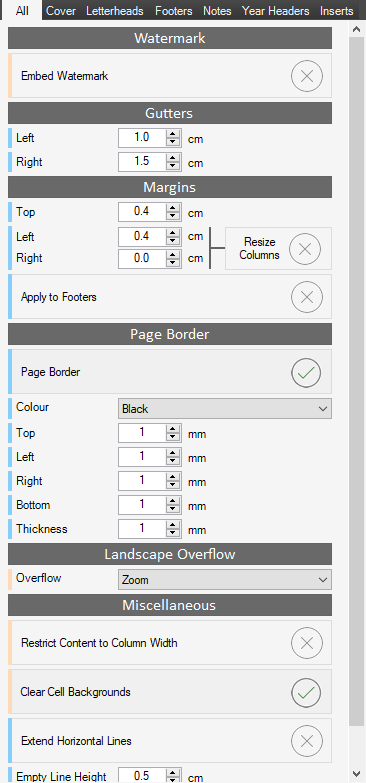
There are many options here which will allow you to change the look and feel of the finalised version with the click of a button, for eg: Inserting of a watermark, amending margins and page borders, inserting of letterheads or cover images (Article), inserting external documents, and much more. For a detailed breakdown of the Print Preview Settings, please visit this Article.