Note: The article below will explain the Print Preview settings in detail by Tab. For a general overview of printing your Financials, go here.
Click on the relevant Tab Item you would like the detail on:
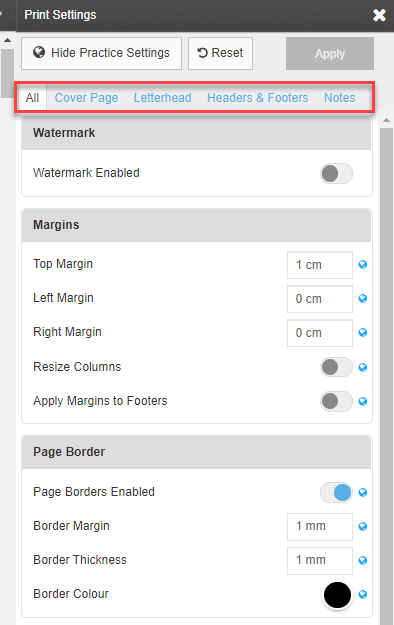

All
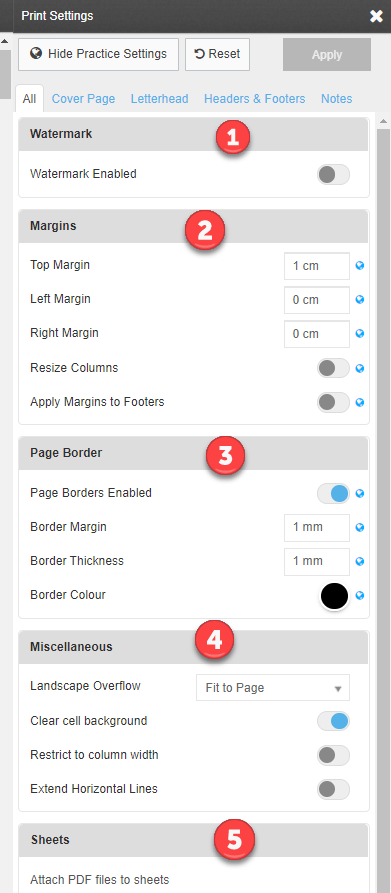
1. Watermark:
To switch on the Watermark, click on the toggle button:

Here you will be able to amend the wording, size, colour, etc to your preference:
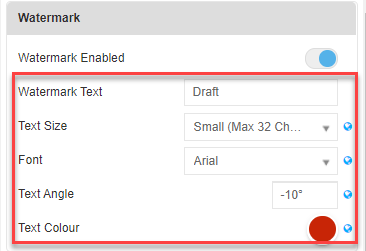
To switch off the watermark, click the toggle button again:

2. Margins:
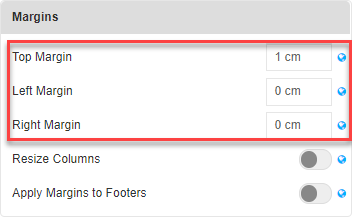
Margins can be amended for the Top, Left and Right universally for each page. If you select Resize Columns and you have increased margin size, the system will resize each of the data columns to keep the sheet in Portrait mode. You can elect to apply these changes to the Footer too.
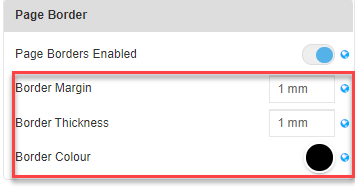
3. Page Borders can be customised by colour and thickness:
4. Miscellaneous:
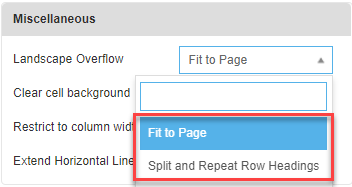
Landscape Overflow allows you to elect whether to for example, force a multi column note that has auto Landscaped to "Fit to Page", or to auto Split and Repeat Row Headings into additional columns underneath:
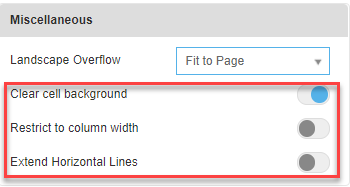
Clear Cell Background - You can deselect this option if you have multi coloured cells or sheets in your financials and would like them to display accordingly in your printed financials.
Restrict to Column Width - If content overlaps into the next cell, you can elect to cut it off (if you haven't used text wrapping for eg):


Or if activated:

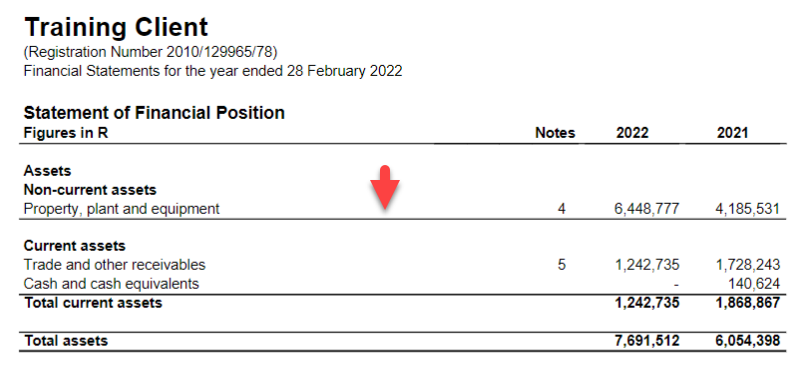
Extend Horizontal Lines - Select this option if you prefer to have horizontal lines across your Statement of Financial Position, Statement of Comprehensive Income, etc:
5. Sheets:
This is where you can insert external pdf documents into the financials, for example, an Audit report or a PDF Annexure of some sort. Please see the following Article on how to do this.
DeleteCover Page

This is where you can insert a Cover image. Please see the following Article for more information.
DeleteLetterhead
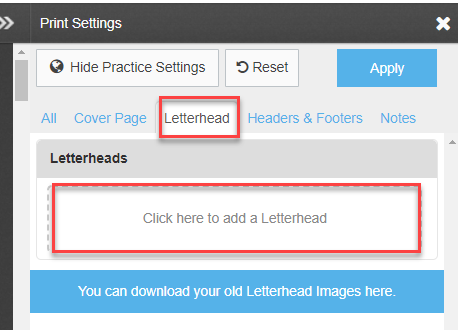
This is where you can insert a Letterhead. Please see the following Article for more information.
DeleteHeaders and Footers
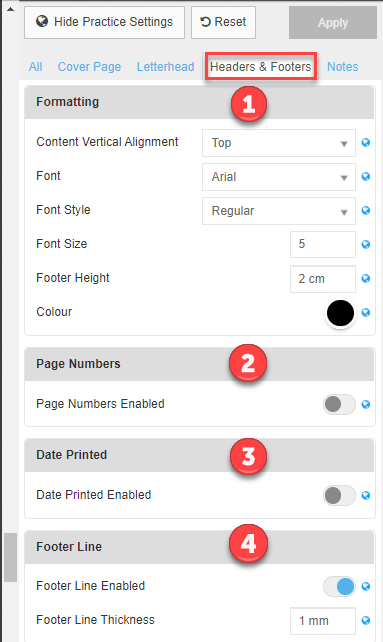
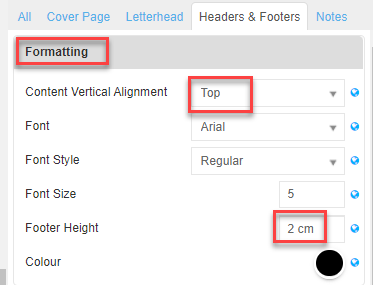
1. Formatting - Here you can edit the font style, and also align the footer content within the footer itself, and amend the height.
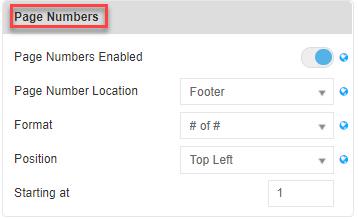
2. Page Numbers - Select whether you require page numbers; position them within the Footer itself; Top, Bottom, Left, Right etc. Select the page you would like the numbering to commence from, as well as the format:
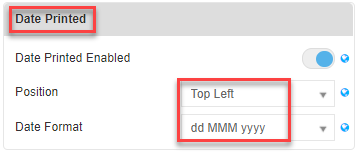
3. Date Printed - Select this option's position and format if you would like it to be included:
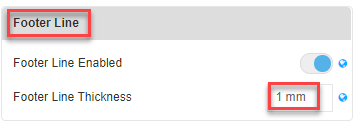
4. Footer Line - Select whether to have a footer line here and adjust the thickness if required:
5. Custom Footer:
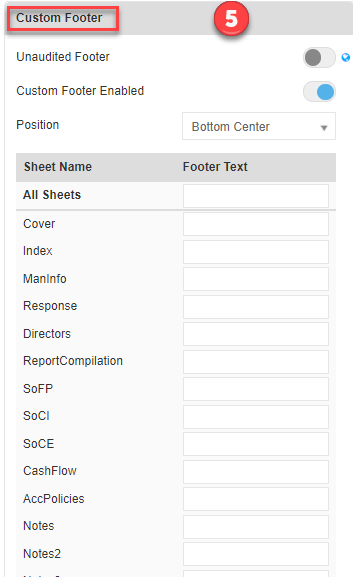
Unaudited Footer - You can elect whether to have an "Unaudited" footer on the applicable sheets, eg: Detailed Income Statement onwards:

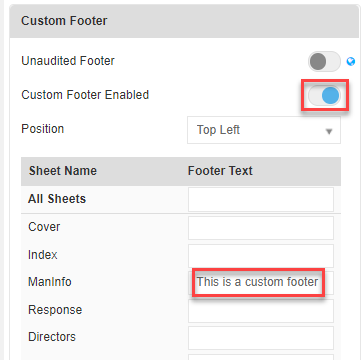
Custom Footer Enabled - If you would like to create a custom footer, type the content into the relevant page description under Footer Text, and it will appear on the financials:

Notes
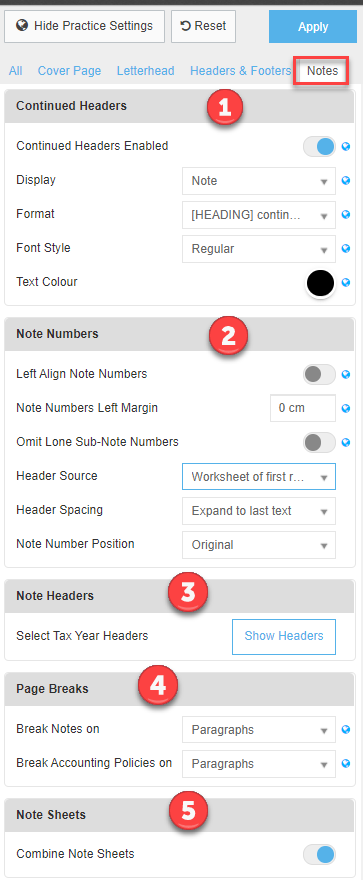
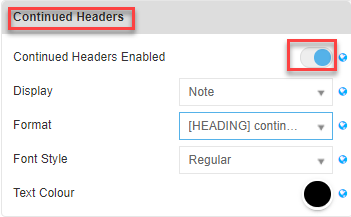
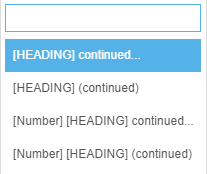
1. Continued Headers are enabled here (for page breaks within a note), including the position (Notes/Sub Note/Both) and style:
2. Note Numbers:
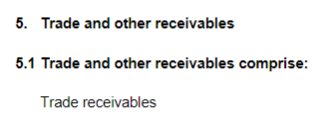
Left align Note Numbers to the margin (adjustable):
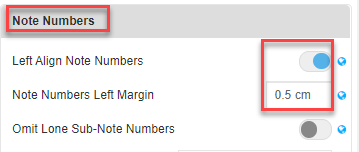
And/Or omit Lone Sub-Note Numbers:
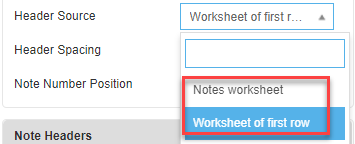
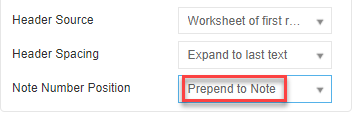
Header Source - Notes Worksheet will use the Header info from the main Notes page, Worksheet of 1st row will use the Header from each of the individual Notes pages - Notes2, Notes 3, etc
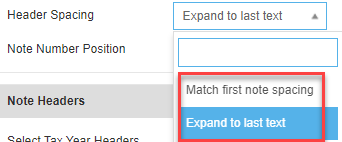
Header Spacing - Match first note spacing - the Year headers will remain in the same columns as the first Note, Expand to last text means they will move as far right as possible, irrespective of the number of columns.
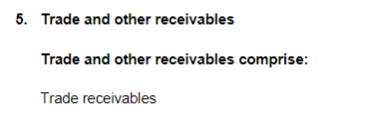
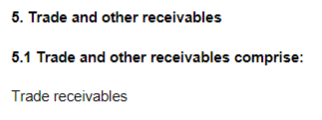
Note Number Position - Select whether you prefer the Note Number in it's original position:
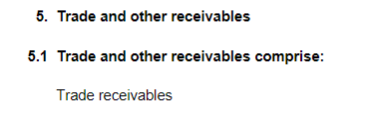
Or, prepended to the note:
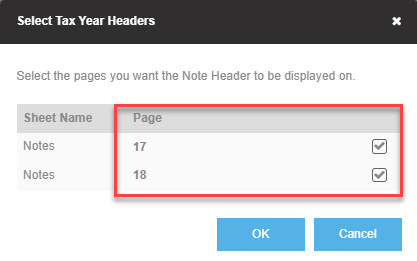
3. Note Headers:
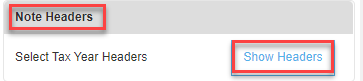
Here you can select/deselect the pages that you want year headers on; for example you wouldn't want year headers on a sheet that just as text and no year-column figures
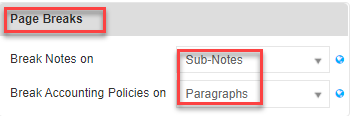
4. Page Breaks - Select the position of your page breaks here for Accounting Policies and Notes:
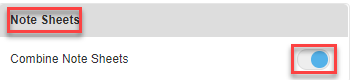
5. Note Sheets - You can elect whether to have your Notes Sheets combined from page to page, or have a page break as per the template itself: Spilt between Assets (Notes), Equity and Liabilities (Notes2), Income Statement (Notes3), etc:

Delete