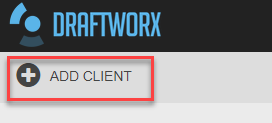
To create a new client file, select ADD CLIENT
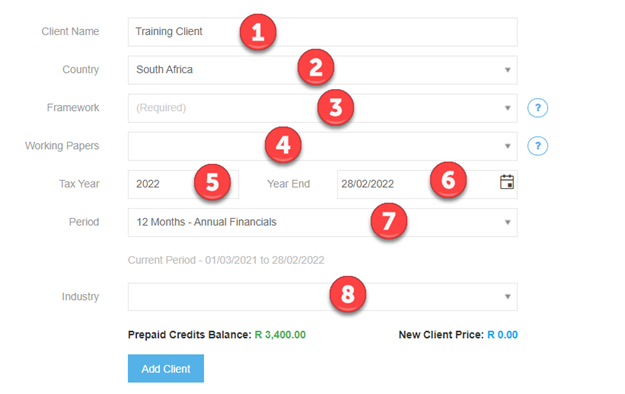
1. Enter the Client name (entity you’re creating the set of financials for).
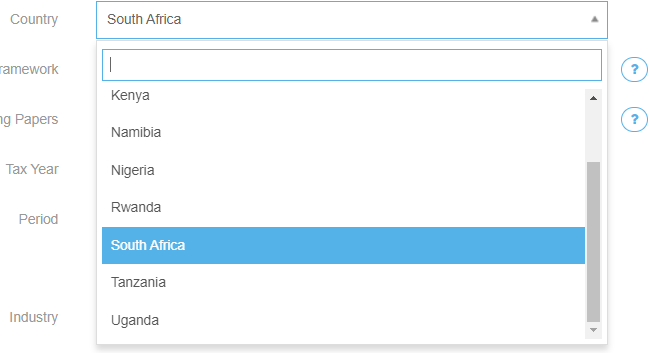
2. Country refers to the country of incorporation.
3. Framework is the template (layout) to be used which is related to the type of entity you are engaging with.
Note: Please always use the templates with the “+” suffix and the “Latest” icon next to it. These are our new generation templates which contain the latest automation features, additional disclosure options, automated XBRL etc. The older “Legacy” templates will be phased out in the foreseeable future.
For more information on each template, click on the “?” icon
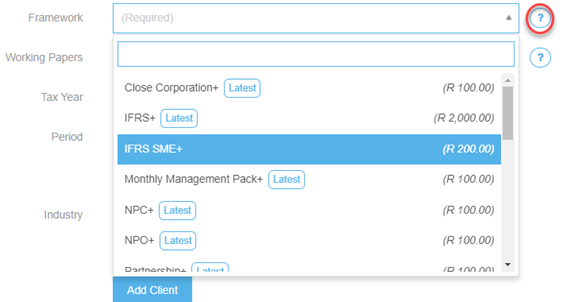
The amounts highlighted below will show the cost of the template (Cloud works on a pay-as-you-use basis)
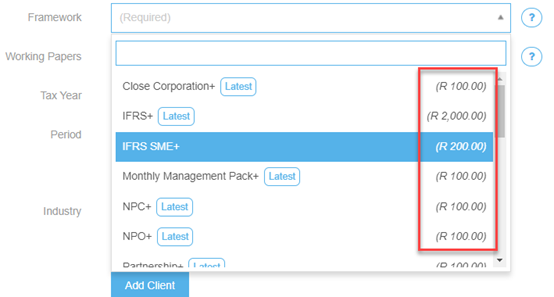
4. Working Papers are selected based on the type of engagement being performed and provides guidance and checklists (optional).
Note: The same applies for this section – please only use the “+” templates
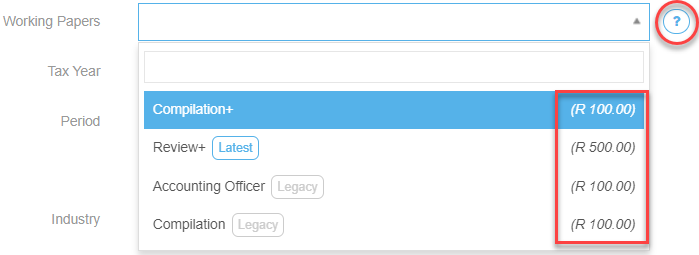
For more information on each working paper set, click on the “?” icon.
The working papers also work on a pay-per-use basis.
5. Tax Year is the financial year end of the entity.
6. Year end is the date of the current financial year.
7. Period is the period of time you are producing the financials for; if it’s for less than or more than 12 months, you can amend here.
8. Industry: Select the industry the entity is involved in (optional).
Once all selections have been made..
9. On the right, New Client Price will show you what this engagement will cost you, while on the left you will see your current credit balance (before selecting Add Client)

Select Add Client
The following screen will then open:
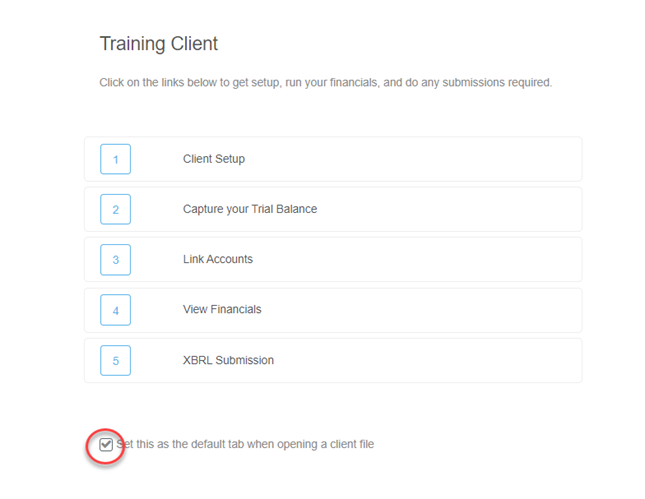
Tick the set as default tab box if you would like to automatically open the wizard screen when opening a file.