To run the financial statements, click on Financial Data>XXXFinancials (Name will be according to the selected Framework)
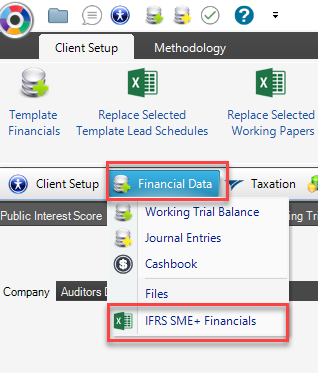
Sheet selection:
You will then need to go to the Content menu, and deselect, or conversely select, the sheets you don't/do require in your financial statements:

You can tell which sheets are set to show, and which are set to hide, by the colour of the radio buttons; blue is on, clear is off (depending on your pc's colour scheme of course)
Inserting additional sheets:
To insert an additional into your template, go to Content>Import Worksheets:
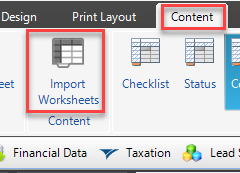
Browse for your sheet and select it.
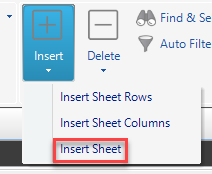
To insert a blank sheet, go to Format>Insert>Insert Sheet:
Note: You are able to control the order of all sheets; just click on the sheet you want to move, then got to Content>Sheet Control, where you can move the sheet left or right:
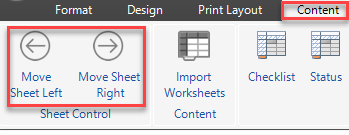
The Index will reorder itself when you run the Print Preview
Engagement Report:
An important selection here is your engagement report; all are switched on by default; you just need to deselect the non applicable ones. In this example, we are performing a compilation engagement, so as a result, the selection would look like this:

Show/hide Notes and paragraphs:
Note: The applicable notes will be automatically opened, based on the linking of the Trial Balance
To show or hide a note or paragraph manually, you will need to group/ungroup accordingly, by clicking the "+" to show, and conversely, on the "-" to hide:
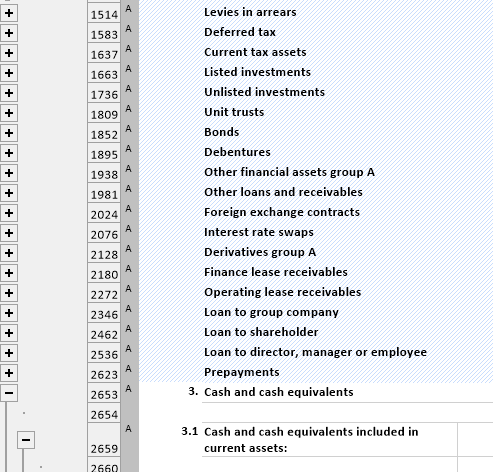
The "Ä" in the first column, means that that Note will be automatically numbered.
Show/hide rows:
Note: There is no need to delete rows. You just need to hide what is not applicable, as it may become applicable in the future.
Similarly, the row logic works as follows: "1" means show, "-" means hide. The "-" is actually a "0" in accounting format. Should you wish to show a row, change the 0 to a 1; to hide it, change the 1 to a 0
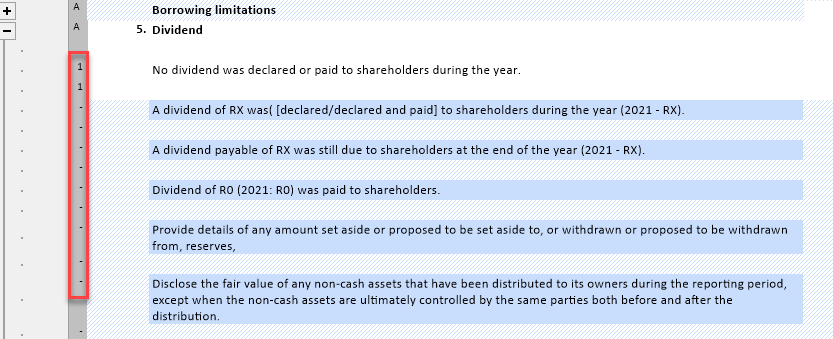
You will notice that rows that show, are clear, hidden rows are shaded in light blue or grey.
Note: Dark blue cells means possible manual entry, should it not be possible to automate a value , eg: Additions and Disposals values on your PPE recon.