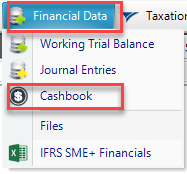
To process the Cashbook go to Financial Data>Cashbook:
You will then see the Cashbook screen. To start processing you will need to select the bank account you will be processing to. To do this you can select your bank account from the orange bar in the column Bank Account (Balancing Account).
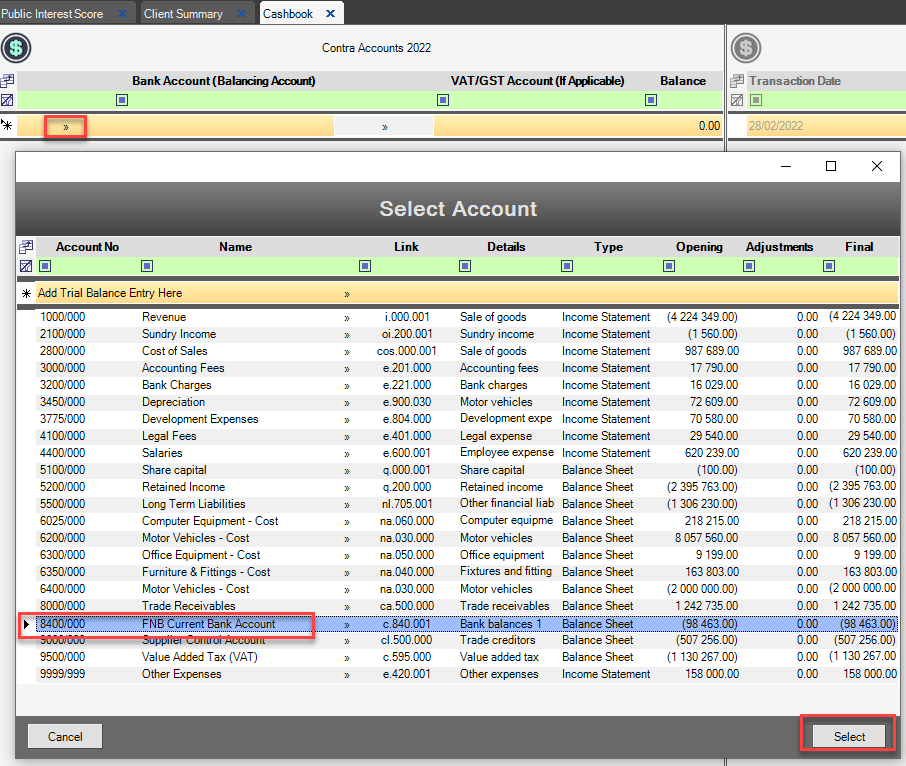
You can then select the Vat account (if applicable) in the same manner.

Don't have a trial balance set up?
If you don’t have a trial balance already you will have to set up accounts first. Please see the instructions on Manually Adding Entries on the trial Balance if you are not sure how to do that.
You will then be able to start processing your transactions (on the right)

You will see the following headings in your cashbook:
Transaction Date: Select the date of the transaction that you are currently processing.
Account: Select the account that will be affected by this transaction in the drop down.
Including: Enter the full transaction value here.
VAT: Mark the transaction as VAT inclusive or exclusive. This will be deactivated if you do not have a VAT account selected for the cashbook.
VAT rate: Will default as per Client Setup
Excluding: This amount will automatically be calculated.
VAT Amount: This amount will automatically be calculated if the transaction includes VAT.
Description: Enter a description for the transaction here.
Hit <ENTER> and begin processing on the next line:
Note: If you want to delete a line, the small black arrow on the left of the date and hit <DELETE>
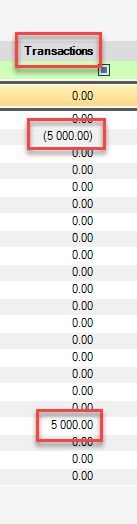
The cashbook transactions will appear in the Transactions column in the Working Trial Balance: