Note: This article covers the steps for + Financials only; for non + or non Draftworx software steps, please see the video at the end.
Once you have completed your Annual Financial Statements, to create an XBRL version for submission to CIPC,
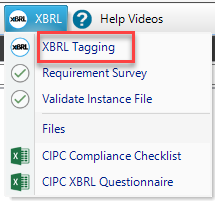
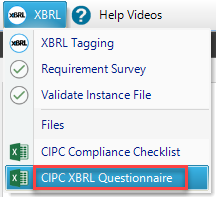
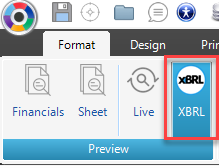
Click on the XBRL icon, then XBRL Tagging:
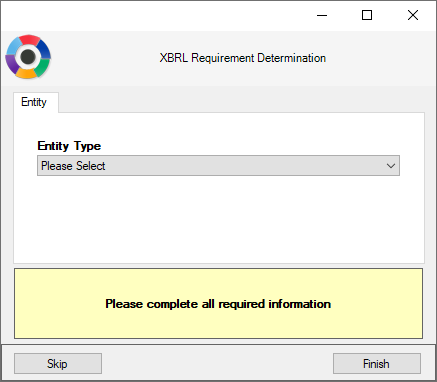
This will auto invoke a Requirements Survey, to validate whether you need to submit XBRL financials:
Note: If you are sure you need to, for eg: if the entity is audited, you can skip this step:
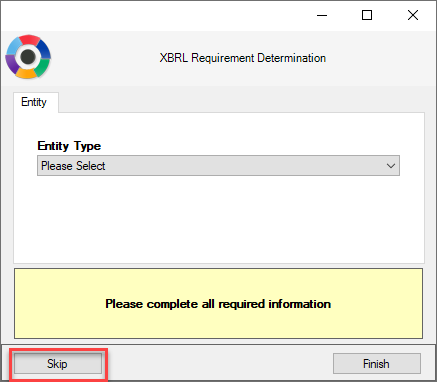
Otherwise if you are unsure, follow the steps.
The results will be based on the information you supply (Entity type, MOI info, Public Interest Score etc):

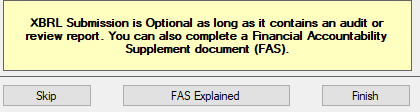
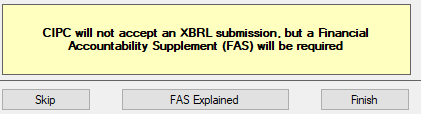
Depending on the result: XBRL Required/Optional/Not accepted follow the below process (if applicable) after clicking “Finish”.
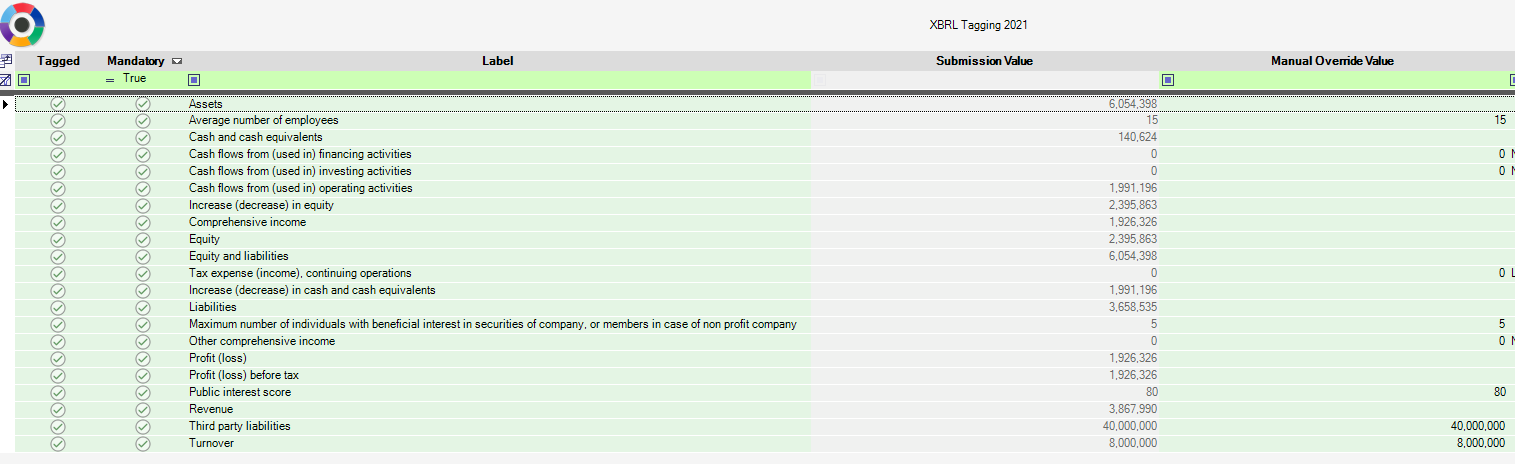
The following screen will open:
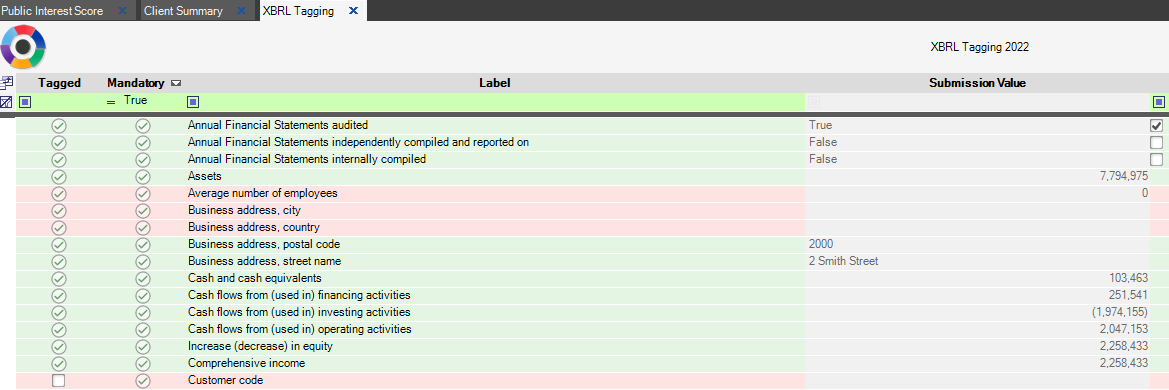
Column labels explained:
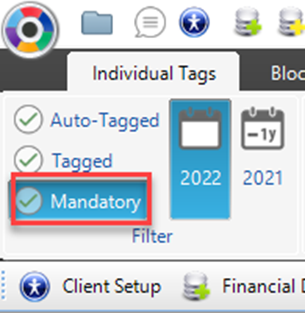
- Mandatory - this is information that MUST be submitted (If not submitted the file will return an error/be rejected). Draftworx auto filters to Mandatory by default. There is a filter to toggle this on and off:
Note: Draftworx tags all applicable facts on the financials, NOT just the mandatory items.
2. Submission Value: These are values that will be submitted in the XBRL document; if there is a value in this column and none in ‘Manual Override Value’, it means that the value was tagged in the financials or pulled from ‘Client Setup’.
3. Manual Override Value: This is a manual input value to be used where necessary; a value inserted here will appear in the ‘Submission value’ column.
4. Footnote: This column is reserved for when a mandatory value has a zero value; a footnote explaining why or that you agree needs to be entered here.
CIPC XBRL Questionnaire
This questionnaire can be completed by you or your client (exported into excel and sent), and then imported into Draftworx, to eliminate some of your mandatory manual input data.

Once the questionnaire has been completed, open your XBRL tagging screen:
Then go to the ‘Tools’ tab and ‘Import Completed Questionnaire’:

Browse to the file and import it
Tagging explained:
You will note that the rows are colour coded; the green rows contain completed information, and the pink rows still require values.

A major advantage of using the “+” templates, is that most of your tagging will automatically be done for you. If you would like to view the values on the financials itself, or you need to tag/amend any (additional fields), do as follows:
- Run the Financials
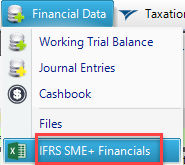
- Go to XBRL (Top right) then XBRL Tagging (Bottom left)

To view the tagged values, click on "Link Views", then for eg: Assets.
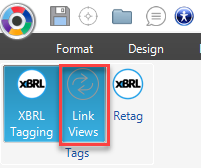
The cursor will jump to that value:
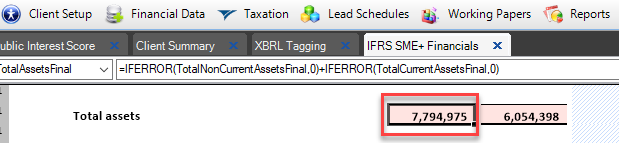
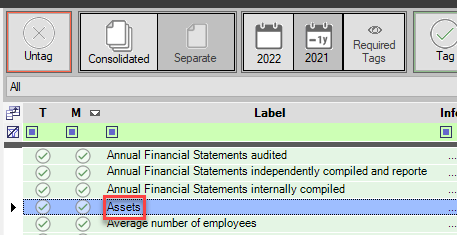
If you however need to tag the Total Assets value, Click on the ‘Total Asset’ value cell on the financials, then on the ‘Assets’ line on the right and click on ‘Tag’:
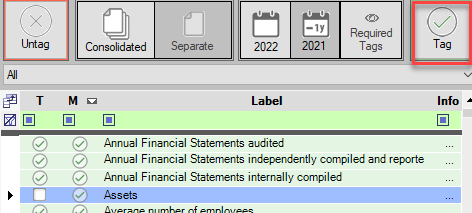
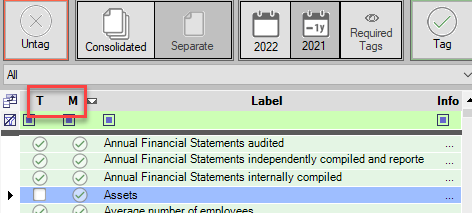
Note: The ‘T’ in the column stands for ‘Tagged’ and the ‘M’ is for ‘Mandatory’:
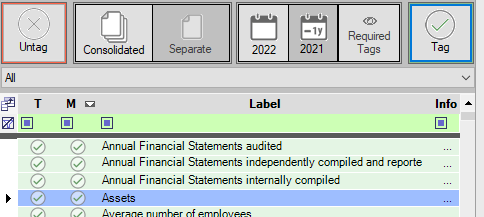
The ‘Tag’ selection will turn the cell pink (only when the tagging screen is open) to show it has been tagged.
‘Untag’ would clear the tag on the cell selected if you need to change it for whatever reason:
Complete all of the pink fields until there are none left.
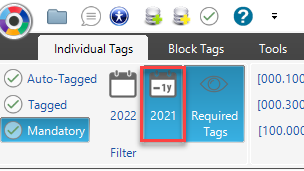
Although not mandatory at this time, it is very easy (and advisable) to tag prior year information.
Click on the Prior Year's icon:
Complete all missing information:
Once you have completed both years, you can go back to the financials, then:
Run the XBRL Preview:
Once the preview has run, Draftworx will let you know if there is any information missing, for eg:
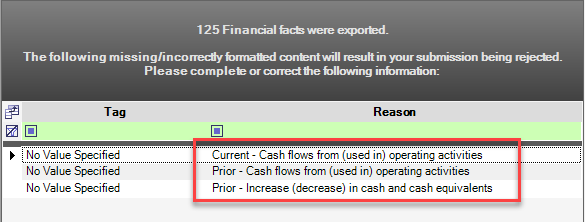
Go back to XBRL tagging and fill in the missing information.
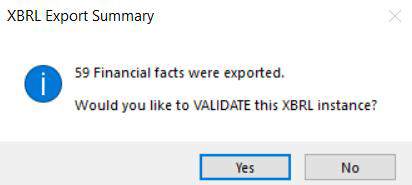
Run the XBRL Preview again; if have completed the missing items correctly, you will be prompted to Validate the File
You will then get a ‘CIPC XBRL Validation Report’, which will highlight any Errors or Warnings.
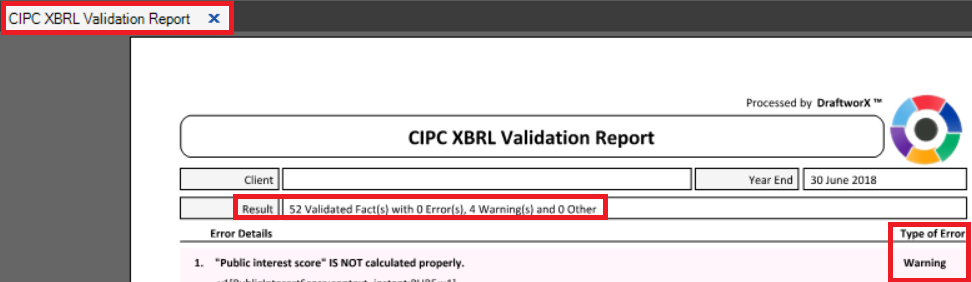
Errors: This will result in a rejection from CIPC (make sure they are cleared before submitted to CIPC). If you require any assistance with clearing these errors, please contact our support team and they will gladly assist you.
Warnings: These will not result in rejection – your submission will not be affected.
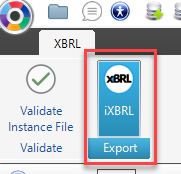
Once you have cleared the errors, run the iXBRL Export:
Save it to your desired location. (Note: It is advisable to use the default name of the file):

The XBRL document can now be submitted to CIPC.
For a full video on XBRL, including submitting Legacy (Non +) or non Draftworx XBRL Financials, please see the video below: